How to keep track of a long crochet project
A blanket can take a year. A sweater, a whole winter. Here is what to write down, when to take a photo, and how to keep a long project moving until the last stitch.
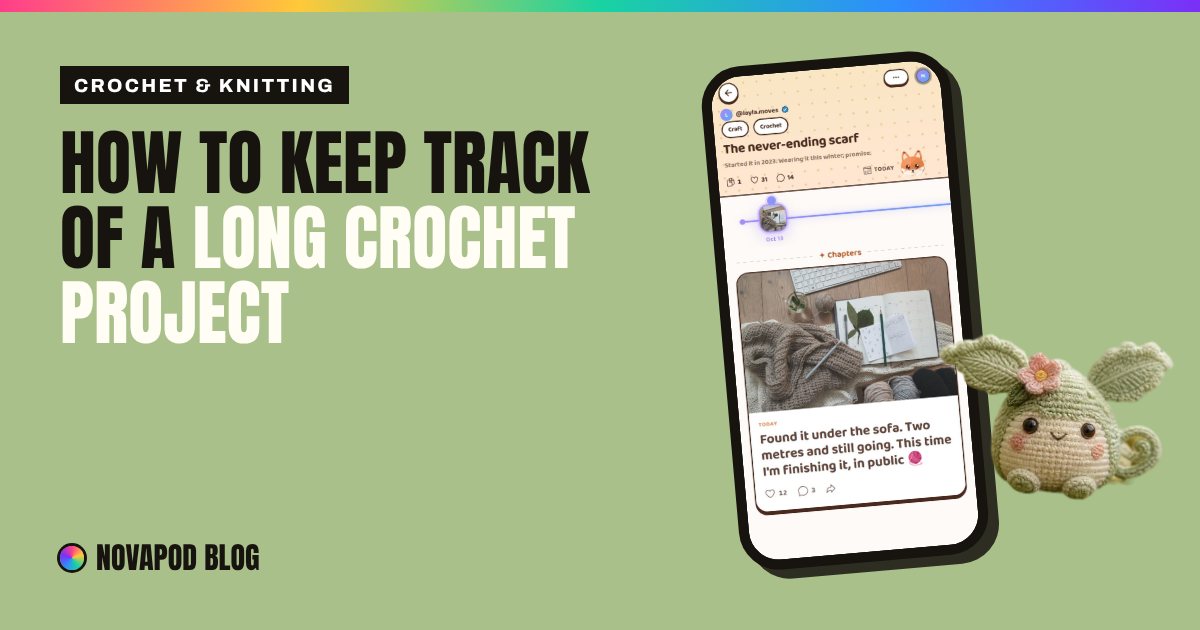
Row 112 of a granny-square blanket looks a lot like row 80. That's exactly why long projects stall.
Short projects carry themselves: a hat is done in a weekend, and you can see it grow every evening. Long ones are different. A blanket, a sweater, a pair of socks with a second-sock problem: they spend months in the middle, where every evening looks like the one before. Somewhere in there the pattern gets lost, the hook size gets forgotten, and the bag goes into the cupboard "for a bit".
The fix isn't more willpower. It's keeping track, in a way that shows you how far you've come.
Why long projects stall
- You can't see the progress. Thirty extra rows feel like nothing when you're looking at them up close. Without a before, there's no after.
- You lose your place. Which row of the repeat? Did you change hooks after the ribbing? Was it the 4.5 or the 5 mm? A few weeks off and coming back feels like starting over.
- You lose the why. The excitement of the first week fades, and nobody else knows the project exists. Putting it away costs nothing.
What to write down at the start
Five minutes on day one saves hours of guessing in month three. Note:
- The pattern, its size and where you found it.
- The yarn: brand, colourway and dye lot. If you run out, the dye lot number is the only way to get a matching ball.
- Hook or needle size, and your gauge from the swatch.
- Any changes you make to the pattern, as you make them: extra length, a different border, fewer decreases.
- The date you started. You'll want it when you finish.
A notebook works, so does a notes app or a pattern site. What matters is that it's all in one place, next to the project, not spread over three screenshots and a receipt.
A row counter tells you where you are. A progress diary shows you how far you've come.
Keep a progress diary, not just a row counter
A row counter is great for the next ten minutes. For the next ten weeks you need something else: a record of the stages, with a photo of each one. That's what turns a long project from a blur into a story you can see.
- Photograph the startThe swatch, the first rows, even the yarn still in its bands. It will look like nothing. That's the point: it's your "before".
- Pick your milestonesSplit the project into stages you can actually reach. A sweater: swatch, ribbing, body to the underarms, sleeves, finishing. A blanket: every ten squares, joining, the border.
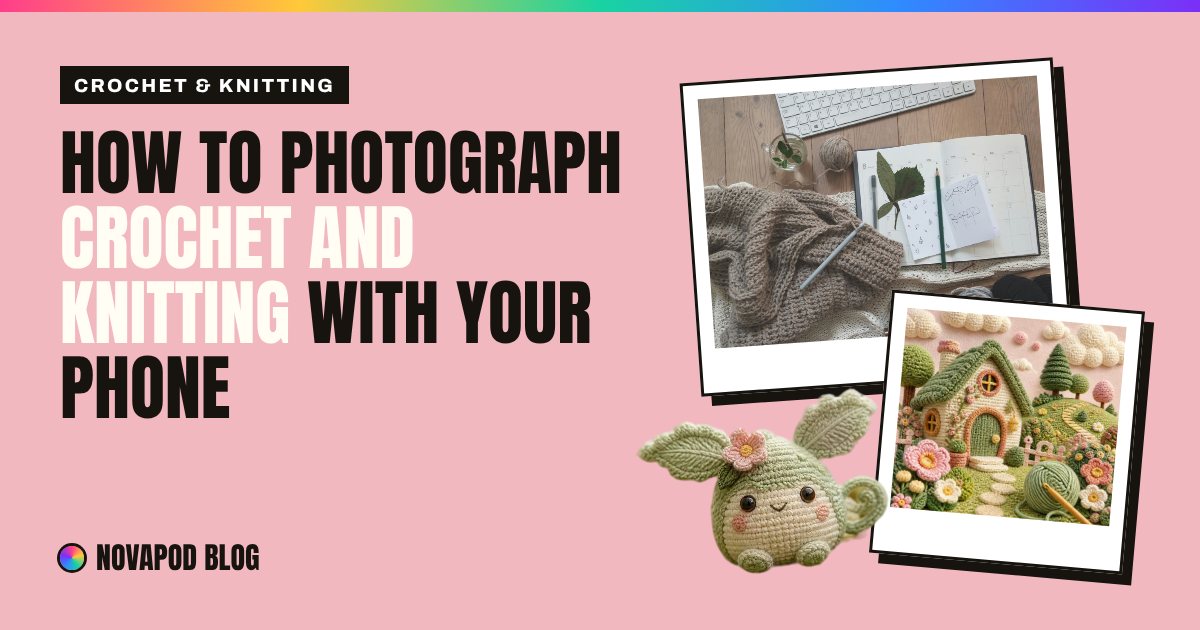
- Take a photo at every milestoneFrom the same spot, in the same light, so you can line them up and see the growth. (Our phone photo guide has the simple tricks.)
- Write one line with each photoWhat you did, what went wrong, what's next. "Sleeve two done, frogged the cuff twice, blocking this weekend."
- Always name the next step"Finish the blanket" is a fog. "Join row three on Sunday" is a plan. Coming back is easy when you know exactly where to start.
Make it visible
A diary in a drawer helps you remember. A diary someone else can see helps you finish. When friends or other makers follow along, every milestone gets a reaction, and the boring middle stops being invisible.
One project, one Journey
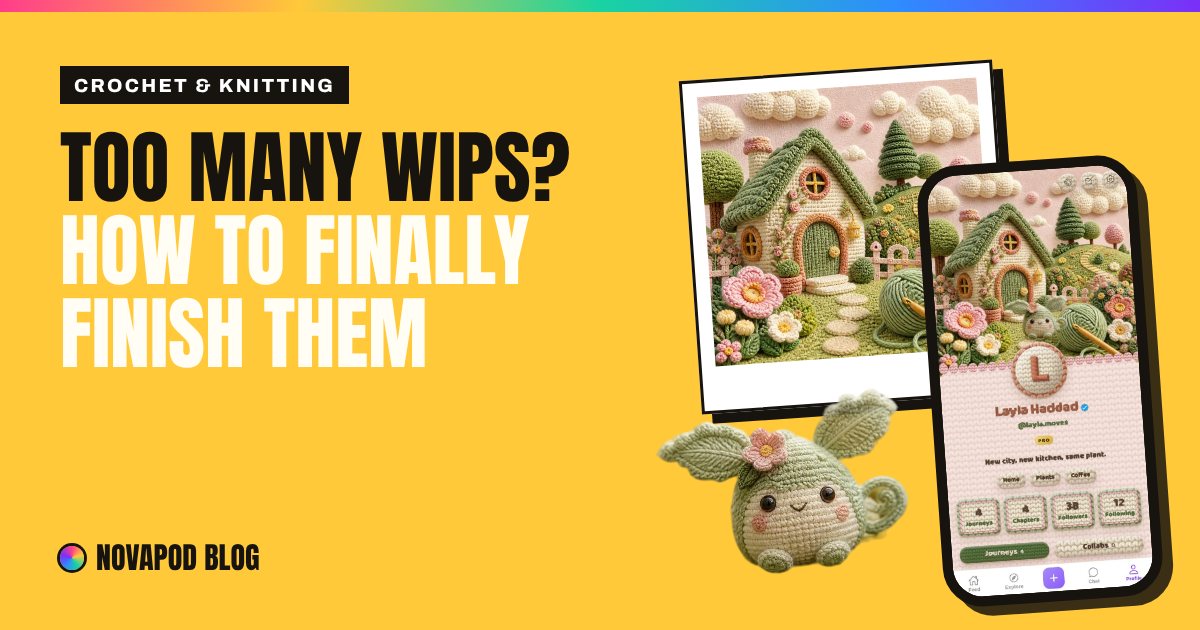
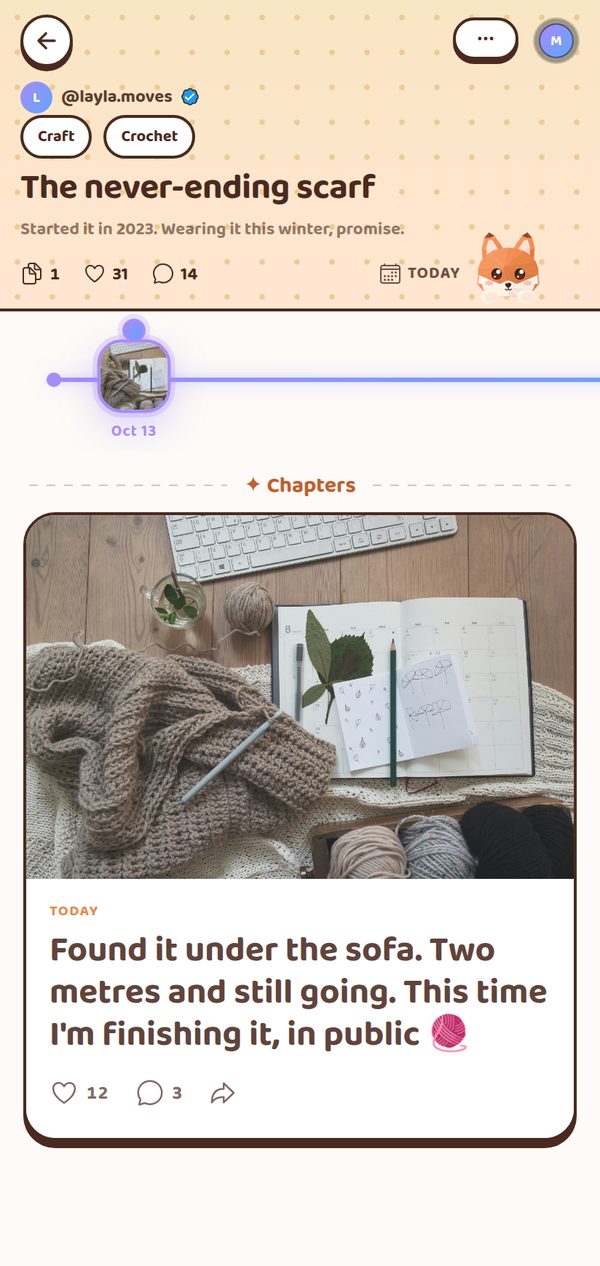
On NovaPod every project is a Journey and every milestone a Chapter: a photo and a line about where you are. Your Chapters line up on a timeline, so you can scroll from the first rows to today and actually see the blanket grow.
People who follow you see each new Chapter in their Feed. Other makers cheer you on in the comments, and quietly wait for the next one. It's the nudge a project bag in the cupboard never gives you.
Your first milestone: today
Get the project out, take one photo of where it is right now, and write down the next step. That's Chapter 1. If you have more than one project waiting, here's how to pick which one to finish first.