How to photograph crochet and knitting with your phone
You spent forty hours on it. Here is how to spend two minutes on the photo, with nothing but your phone and a window.
Stitches are tiny, yarn is fuzzy, and colours are surprisingly hard to get right. The good news: the fix is light, not a better camera.
Every phone from the last few years can take a lovely photo of your crochet or knitting. What makes the difference is where you stand, where the light comes from and what's behind your work. Here's the short version.
1. Use window light, and turn the lamps off
Put your work near a window during the day and switch off the ceiling lights. Mixed light (daylight plus a warm lamp) turns cream yarn yellow and greys muddy. A cloudy day is perfect: soft, even light that shows every stitch. In bright sun, step back from the window or hang a thin white curtain, and never use the flash, which flattens texture and makes yarn shiny.
2. Pick a plain background with contrast
Light yarn on a darker surface (a wooden table, a grey blanket), dark yarn on something light (a white sheet, a sheet of card). Clear away the mugs and remote controls. A few props are nice, like the hook, the next ball of yarn or the pattern, but the work should be the clear subject.
3. Take three shots for every stage
- The whole piece, flat and from straight above. This is the "how far am I" photo.
- A close-up of the stitches. Move the phone closer instead of zooming in, and tap the screen on the stitches so they're in focus.
- In context: in your hands, on the hook, over a chair or on the bed. It shows the size and makes it feel real.
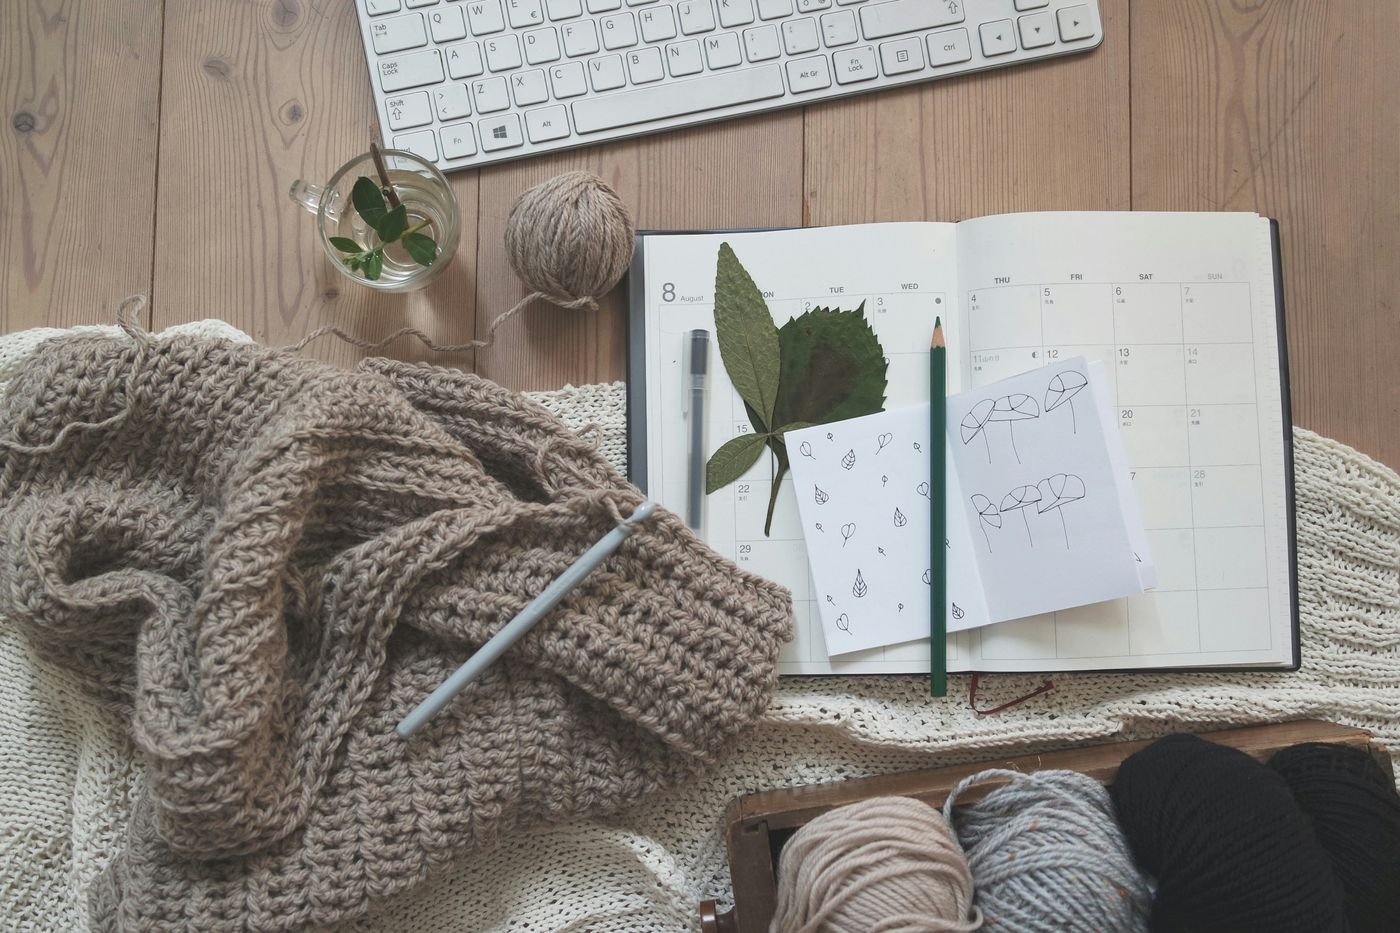
4. Get the colour right
For a maker, the colour is half the story, and other people will want to know which yarn you used. Tap on the work to focus, then slide the brightness down a touch if white or pale yarn looks blown out. Skip the filters, which change the colours, and write the yarn and colourway in your caption instead.
5. Use the same spot every time
This is the one that pays off most for long projects. Pick one place, one angle and roughly the same time of day, and take every progress photo there. Side by side, the photos show the growth that you can't see up close: ten squares, then twenty, then a blanket.
Same spot, same light, every time. Then line them up and watch it grow.
Don't wait for the finished piece
Wonky first rows, a frogged sleeve, a pile of squares waiting to be joined: these are the photos other makers love most, because they've been there too. Post the middle. It's what keeps you going, and it's what makes the finished photo mean something.
Keeping those photos together, in order, is a big part of keeping track of a long project. And if you'd like a profile that looks like it was crocheted too, have a look at the Crochet theme.